Tracheostomy is a surgical procedure where an opening in the front wall of trachea is made, ideally between second and fourth ring of wind pipe. A tracheostomy can be a lifesaving operation but is also a potentially dangerous one unless the airway is cared for appropriately and kept clear from secretions and blockages 24 hours a day. Children with tracheostomy require constant supervision from those fully trained in its care.
1. Suction catheters – appropriate size would be double that of the
tracheostomy tube size in French gauge (eg: for 6 size Portex (R)
tracheostomy tube –size 12 or smaller suction catheter to be used)
2. Clean gauze
3. Personal Protective Equipment (PPE) - Protective eye wear, gloves, face
mask and apron
4. 5 ml and 10 ml syringe and 100 ml bottle of 0.9 per cent sodium chloride
for cleaning / irrigation
5. Oxygen SOS
6. 6.Pulse-oximetric monitoring SOS
In the case of children on tracheostomy tube, an emergency tracheostomy box which
includes the following should be prepared ( as there is no inner canula in paediatric tubes)
7. A spare tracheostomy tube and endotracheal tube (same size and one size smaller)
8. Xylocaine jelly
9. round-ended scissors
10. spare tracheostomy tapes
11. Good headlight/torch
This can be considered under the following headings
1. Tapes (to secure the tracheostomy tube in place)
2. Suctioning of the tracheostomy tube
3. Care of site –stoma and neck
4. Humidification
5. Care of the cuff of tracheostomy tube
6. Care of inner canula
7. Guidelines to be followed in case of tube obstruction/saturation drop
a. Appropriate emergency equipment
b. Personal Protective Equipment (PPE) - Protective eye wear, gloves, face
mask and apron
c. Packs of sterile gauze, swabs and saline
d. Tapes/roll gauze to be used as tie
e. Round ended scissors
f. A rolled up towel/blanket/pillow (for positioning)
g. Suction equipment and appropriate size catheter
1.Perform a hand wash; put on PPE -this is a two person procedure.
2. Prepare gauze and saline, cut tapes to desired length- threading to be done in
2 layers with one end short and other end long.
3. Ensure emergency equipment is readily available
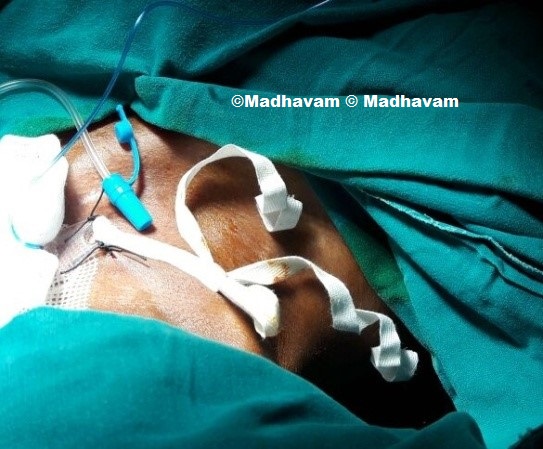
4. Patient positioned with a rolled up towel/pillow under the shoulders, this
allows the head to be extended and gives good visibility of the stomal
area.(fig.1)
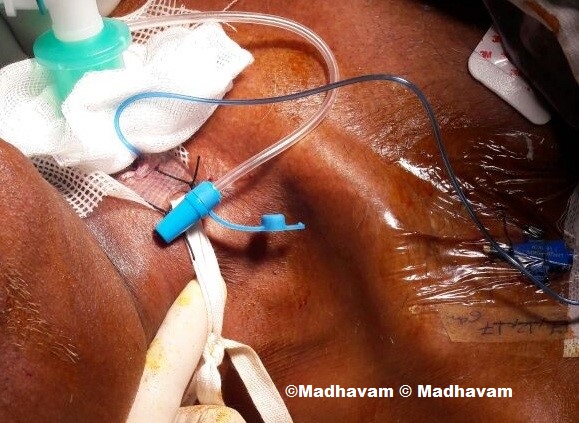
5. Assistant should hold tube in position using either their thumb and index
finger, or index and middle finger (fig.2). Avoid undue pressure on the neck.
6. Assistant to hold the tube until the stoma has been cleaned and the new tapes
attached and secured.
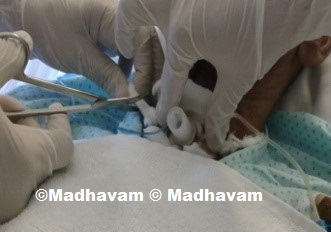
7. Tape changer should cut the tapes between the knot and the flange and
remove old tapes and dressing.(fig.3)
Fig.1.Positioning
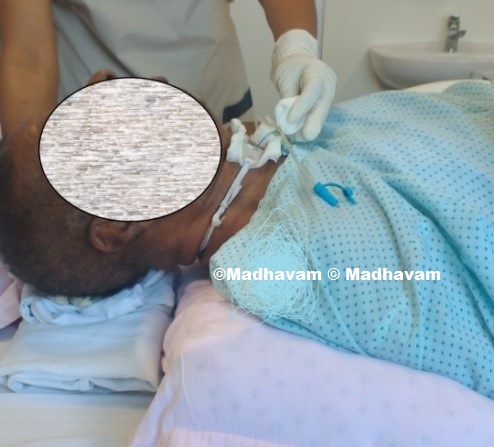
Fig.2.Assistant holding the flanges of the tube
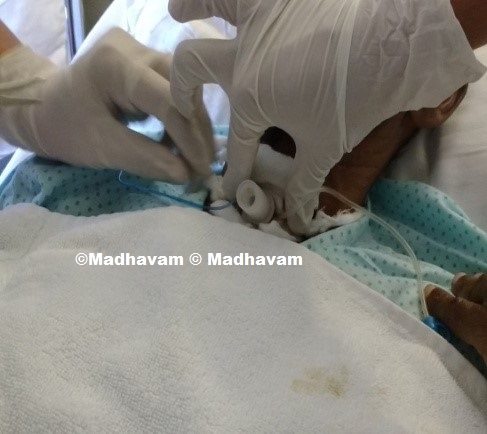
Fig.3.Cutting the soiled old tape
8. The stoma and neck are to be thoroughly washed and dried in 5 areas:
1. above the stomal opening
2. below the stomal opening,
3. under each flange,
4. always wipe away from the stomal edges and
5. finally clean around the back of the neck
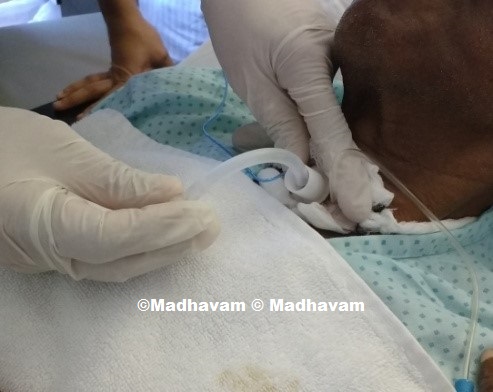
9. Once the skin is dry, thread the new tape through the flange on both sides
(fig.4).Tie the tapes using a bow (bows are easier to re-adjust if they are
tight/loose). Pick up the tension and pull the tapes tight. DO NOT knot at
this stage.(fig 5)
Fig .4.Threading the new tape
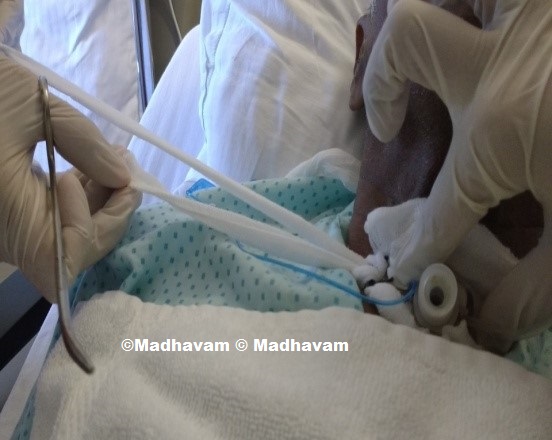
Fig.5.Tying the tape as a bow
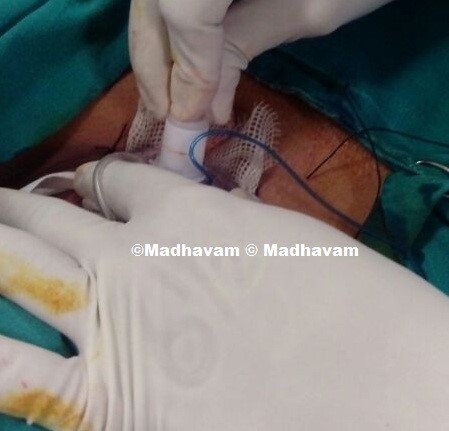
10. Check tape tension by:
1. After removing the extension from under the shoulder, whilst assistant
continues to hold tube in position.
2. It should only be possible to slip one finger comfortably between the ties and
the patient’s neck. (fig 6)
Fig.6.Final tie (tight enough to slip only one finger)
2. Suctioning –done for children where inner canula is not available
The following equipment should be available:
1. suction catheters of the correct size
2. suction unit with variable vacuum control (manually controlled apparatus with foot pedal which would work even if there is power failure would be preferable for children)
3. PPE-Personal protection equipment.
4. Saline (in clean container)
Fig.7.a.suction tip with 2 lateral ports
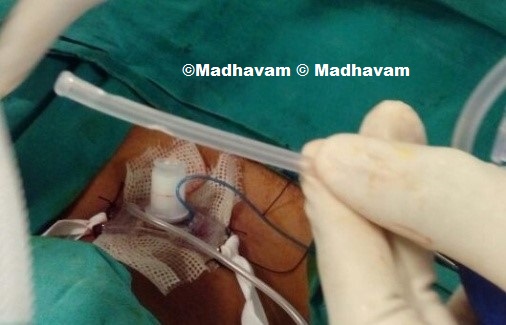
Fig.7.b. Valve

Technique for suctioning:.
The following measures during suctioning help to reduce complications and maximise effective suctioning.
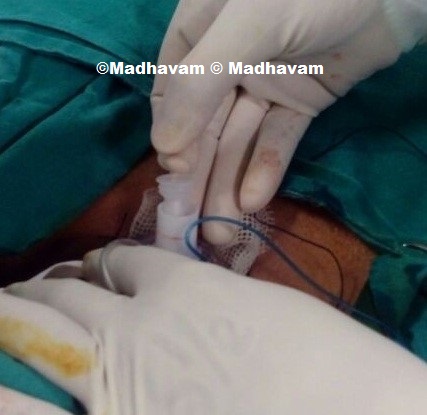
1. Suction pressure between 80-120 mm of hg(fig.8.a)
2. Touch only the proximal end of the catheter to minimise contamination being introduced into the tube. Catheters should be discarded prior to use if the distal end is contaminated (fig.8.b)
Fig.8.a.Suction pressure
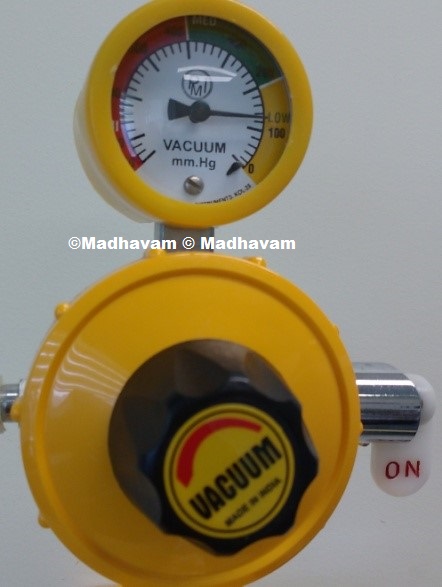
Fig.8.b.Touch only the proximal part
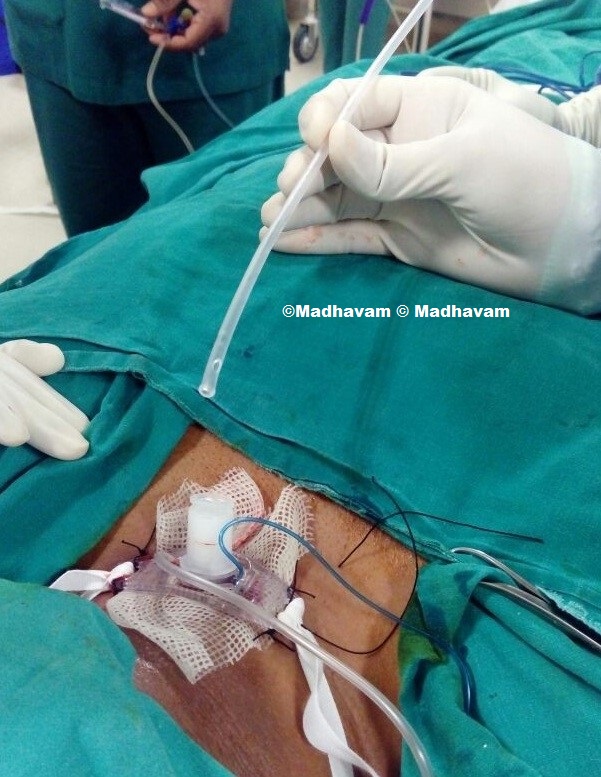
3. The tip of the Suction catheter should remain within the tracheostomy tube and not be passed further down.
This allows the distal and lateral holes of the suction catheter to go just beyond the end of
the tracheostomy tube but remain protected by the tube (the approximate length of obturator/inner
tube of tracheostomy to be used as a guide: fig 9)
Fig.9.Measure the approximate length of catheter to be introduced


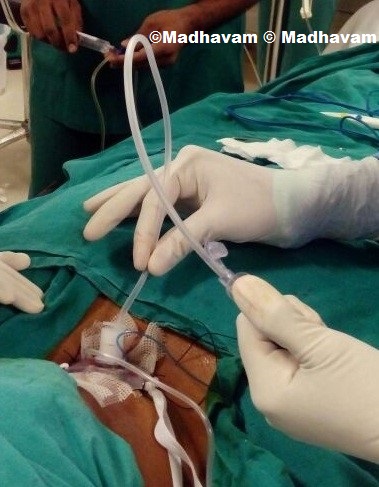
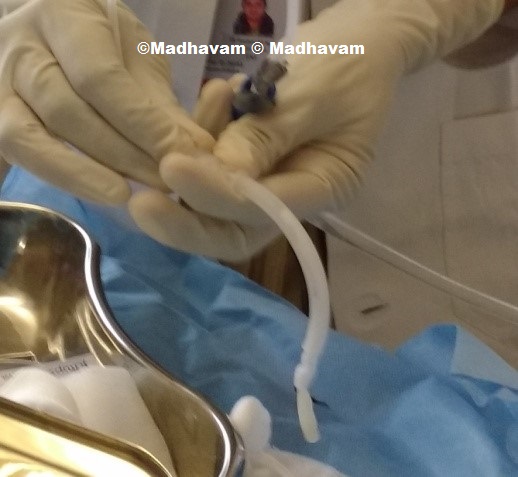
4. Suction should be applied only on withdrawal by closure of the integrated valve (fig 10).
Introduction of suction catheter
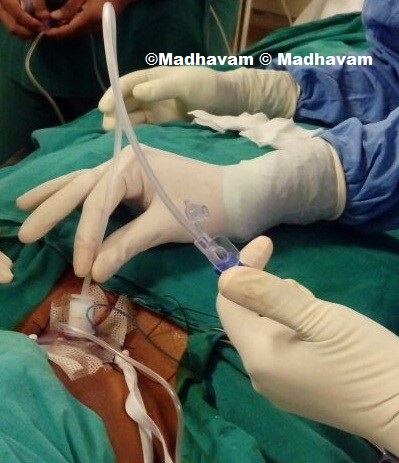
Closure of valve on withdrawal
5. Do not rotate the catheter on withdrawal, as both the distal and lateral holes on the design of catheter allows for
circumferential suctioning.
6. Catheters should not be kinked prior to insertion, in an attempt to control the vacuum.
7. Suctioning should not be carried out on a routine basis; only when needed (except if the airway is new- i.e.
less than 7 days and before the first tube change.)
8. Suctioning should be quick but effective enough to remove secretions Limit the duration to less than 10 seconds
9. Catheters can be re-used during the same episode of suctioning if the distal end is clear from secretions.
10. Repeat the procedure only as necessary.
11. Inform your health care provider if the secretions are bloody, purulent, foul smelling or unusually thick.
Take samples for microbiology analysis as required.
12. Acetyl cysteine nebulisation if secretions thick, prior to suctioning
Care of stoma and neck to be inspected and cleaned daily with change of dressing daily or when soiled. Monitor skin for signs of infection -the stoma area becomes red, swollen, inflamed, warm to touch or has a foul odor or if the patient develops a fever.
Without appropriate humidification, secretions can become increasingly thick and tenacious, making their removal difficult. This may lead to blockage of the tube or retention of secretions in the lower airways
To reduce these risks, artificial humidification is recommended and can be given in many ways:
1. Humidified oxygen
2. Heat Moisture Exchanger of appropriate size
3. It is also important the patient with an artificial airway remains systemically hydrated, this again helps in keeping secretions loose enough to cough up or be retrieved with suctioning, thereby preventing tube blockages. Practitioners should consider increasing the child/young person’s fluid intake during times of illness such as respiratory disease, vomiting, diarrhoea, pyrexia, etc.
1. Cuff pressure maintained at 20-25 cm of water/15-18 mm of mercury (checked twice daily-around 7 cc
of air to be filled for size 7-8 tracheostomy tube)
2. Deflate cuff for 10 minutes every 4 hours (prior suctioning to be done before deflating or remove the secretion by aspirating through the suction aid)
Never shift the patient to ward /room or sent home without inner canula in situ(Size 6 and above of Portex® , size 4 and above of Shileys® have inner canula available)
1. Sterile Tray/gauze/ gloves
2. Saline /Sterile water
3. Roll gauze-4 inch long /1/2inch thick
4. Suction Catheter/Brush
1. Wash and sterilize both hands
2. Use sterile gloves
3. Fix the flanges with one hand; remove the inner canula either by rotation or pulling the outer ring (fig.11) depending on the type of tracheostomy tube
Fig.11.Pull the outer ring of inner canula
4. Clean the secretions with roller gauze passed through the inner canula or with a sterile brush (fig.12)
Fig.12.Cleaning with roller gauze and suction catheter/brush

5. Wash with saline or sterile water /Use 3% hydrogen peroxide (Half strength diluted in sterile water)
if there are thick secretions
6. Allow it to dry
7. Reintroduce the inner canula and make sure that it is locked properly (fig.13)
Fig.13.Reintroduction of inner canula
a. Assess whether there is effort for breathing-
if yes
b. Look for tracheostomy tube patency after removal of inner canula
If there is obstruction
c. Suction the tracheostomy tube or reach the nearest emergency care centre
If there is obstuction even after suction
d. Remove the tracheostomy tube and introduce a new one of same size or 1 size smaller
Reach the nearest Centre where the facility is available or change the tube at home if needed equipment’s are available.
Download